Picture this: You’re standing in the heart of Disney, camera in hand, surrounded by the infectious laughter of your kids, the grandeur of the castle twinkling in the distance, and your heart’s bursting to capture every magical moment.
But there’s a catch, isn’t there?
Despite the smiles, a tiny voice in the back of your head whispers, “Could this be better? Could I capture these memories like those stunning Disney movies?”
Hey, you’re not alone in this. We all want to bottle up those perfect, laughter-filled moments in a way that, years down the road, will bring back the magic just as vividly. Maybe you’ve thought, “If only I knew a little more about making these videos sparkle”
Well, guess what? You’re exactly where you need to be.
This guide is your secret spellbook, crafted to transform your family videos from simple recordings to enchanting stories that echo Disney’s own magic. Together, we’ll dive into everything from choosing the right gear to editing like a pro.
So, ready to make some magic?
Let’s get started…
Planning Your Disney Video Adventure
Choosing Your Equipment
· Camera Options: Selecting the right camera is the first spell in your magical videography book. You might lean towards the convenience of your smartphone, which is always handy and perfect for quick shots. But let’s not overlook action cameras; they’re rugged, water-resistant, and ideal for capturing those splashy moments at water rides or in unpredictable weather. And for those of you aiming for truly cinematic shots, consider a DSLR or mirrorless camera. These offer superior control over your images, allowing you to adjust focus, exposure, and more to get just the right effect.
· Accessories: To really elevate your video, some magical accessories are necessary. A gimbal stabilizer will keep your footage smooth and professional-looking, no matter how many excited tugs you get from little hands. Don’t forget extra batteries and memory cards. There’s nothing worse than running out of power or space just as your child hugs Mickey Mouse.
Scouting Locations
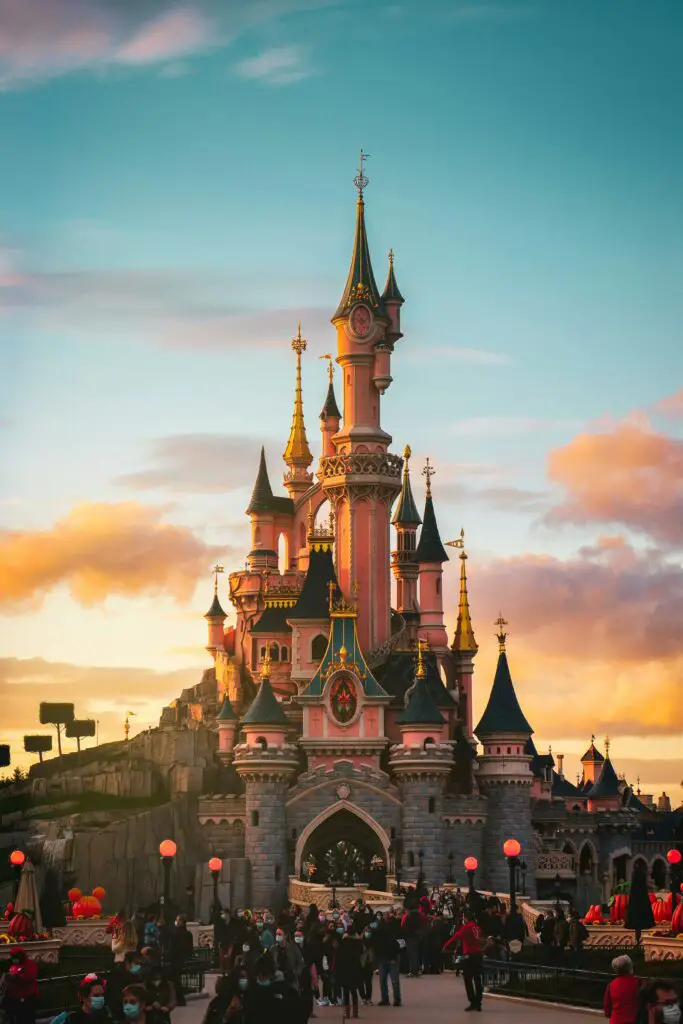
· Must-Visit Spots: At Disney, every corner offers a visual treat, but certain spots are simply iconic. Capture the fairy-tale splendor of Cinderella’s Castle, the futuristic allure of Space Mountain, or the colorful parades down Main Street. Identify where your “must-haves” in your video are for their quintessential Disney magic.
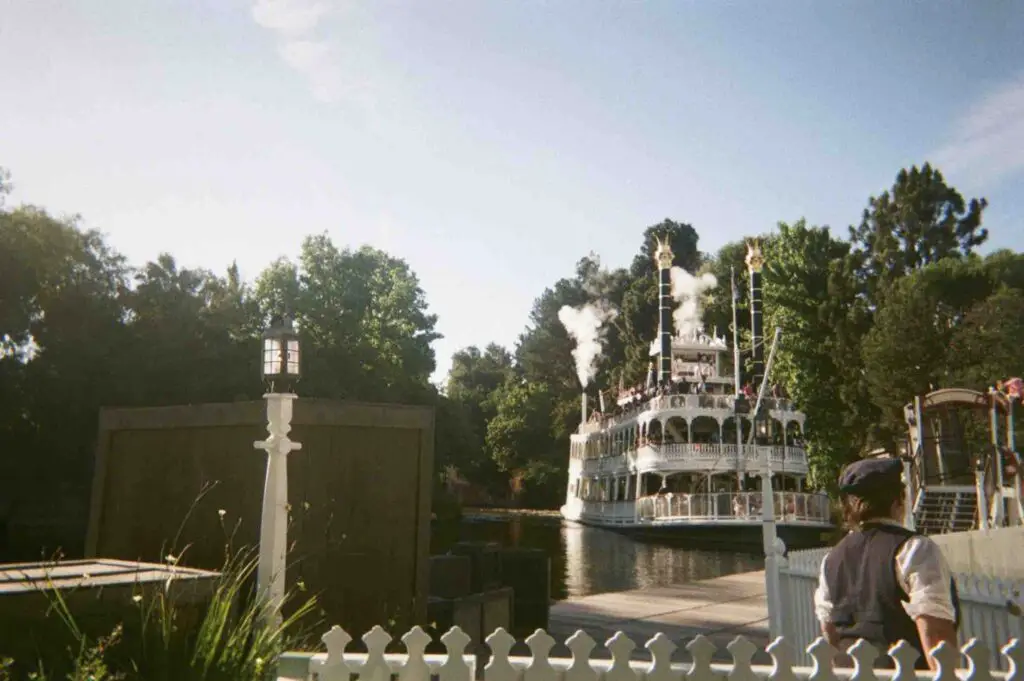
· Hidden Gems: Now, for something a little different, venture beyond the map. Find quaint corners like the quiet paths around Tom Sawyer Island or the intricate details in the queues of your favorite rides. These less crowded spots can add unique and personal touches to your video that set it apart.

Creating a Shot List
Plan to capture the classics – the first view of the castle, the awe on your kids’ faces during the fireworks, and their interactions with beloved characters. But also think about the spontaneous moments, like giggling on a merry-go-round or sharing cotton candy.
While spontaneity is a key part of Disney magic, having a rough storyboard can guide your filming. Sketch out a few scenes you envision, or just jot down a list of ‘must-film’ moments.
This doesn’t have to be complex—a simple bullet list in your phone notes or a few stick figures can ensure you don’t miss any magic.
Filming Techniques for Magical Videos
Camera Settings
Mastering your camera’s settings is key to ensuring your Disney videos look nothing short of magical, no matter the time of day. Understanding the basics can dramatically improve the quality of your footage:
- ISO: Keep it as low as possible in bright conditions to avoid washed-out videos. At night or during indoor shows, you might need to increase it, but be wary of the grain that higher ISO levels can introduce.
- Shutter Speed: For smooth video, aim for a shutter speed that is twice your frame rate. So, if you’re shooting at 30 fps (frames per second), set your shutter speed to 1/60th of a second.
- Aperture: A wider aperture (a lower f-number) allows more light into the lens, which is fantastic for those enchanting night-time parades or fireworks. It also gives you that blurred background effect, making your subjects stand out sharply against a soft, dreamy backdrop.
Capturing the Magic
Angle Variations
Change your angles to capture the grandeur of Disney. Shoot from down low to make characters look larger-than-life, perfect for when your kids meet Goofy or Cinderella.
High angles can capture the expansive crowds and the intricate parade floats. Head-on shots are ideal for capturing the excitement in your family’s faces as they experience the rides.
Dynamic Shots
Incorporate movement to bring a lively feel to your videos. Panning (moving the camera horizontally) is great for following action, such as a parade or your child running towards Mickey Mouse.
A bit of zooming (in moderation) can dramatically change a scene’s focus, from the whole castle to your child’s awe-struck face, enhancing the emotional impact.
Engaging with Characters
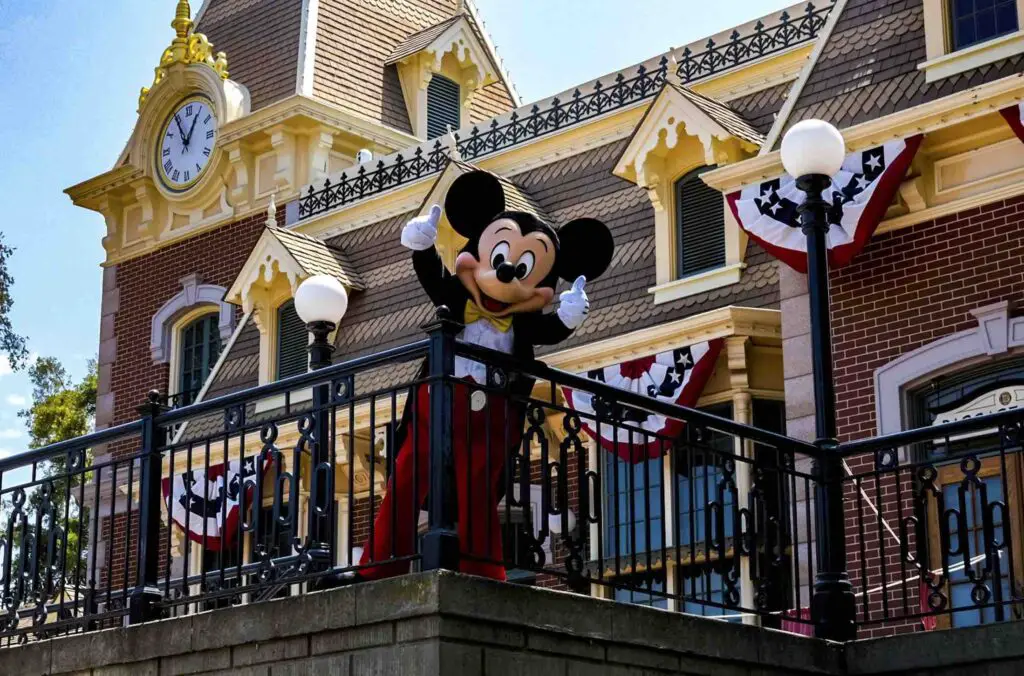
When your child interacts with Disney characters, these moments can be pure gold. Try to capture not just the posed pictures but the approach, the shy first words, and the high-fives.
These interactions often reveal profound joy and surprise, which make for heartfelt memories when rewatching the videos.

Crowd Management
Disney parks can get incredibly crowded, making it a challenge to get clear shots. Here are a couple of tricks:
- Positioning: Find spots that are elevated or off to the side of large crowds for a clearer view. Before a parade starts, scout out a curb or a less congested area along the route.
- Timing: Shooting during parades or shows means everyone else is distracted, giving you a clearer shot of other attractions or candid moments.
By applying these techniques, you’ll not only capture the essence of Disney but also do so in a way that brings out the best in your videos, making them feel as if they’ve been plucked right out of a Disney movie.
Creative Filming Ideas
Themed Videos
Creating a themed video can add an engaging narrative layer to your Disney footage. For instance, you could make a “Pirate Adventure” day video, capturing everything from your family’s journey on the Pirates of the Caribbean ride to treasure hunting in the gift shops.
Dressing up in theme and filming your interactions can bring this mini-movie to life, offering a fun and immersive viewing experience.
Incorporating Music and Effects
Music and effects are powerful tools that can transform your raw footage into an enchanting story.
- Choosing Soundtracks: The right background music can elevate your video dramatically. Consider using familiar Disney tunes that resonate with the scenes you are depicting.
For example, the majestic “Circle of Life” from The Lion King can be perfect for sweeping shots of the park or a magical parade moment. - Special Effects: Utilize simple effects to enhance the magical feel. Slow motion can turn a simple scene of your kids dancing with Chip ‘n’ Dale into a mesmerizing moment, while reverse clips can create whimsical, magical reversals like spilt popcorn scooping back into the box, perfect for a laugh.
Editing Your Disney Video
Editing Software Choices
Choosing the right editing software is crucial. For beginners, apps like iMovie or Adobe Premiere Rush offer user-friendly interfaces and enough features to get started.
More advanced editors might prefer the robust tools available in Adobe Premiere Pro or Final Cut Pro.
Editing Tips
- Clip Selection: Start by choosing the clips that best tell the story of your day. It’s not just about the big moments like meeting Mickey; it’s also the little reactions, the laughter, and the anticipation in line that convey the real Disney experience.
- Transitions and Effects: Use transitions wisely to maintain the flow of the video. A well-placed fade can signify the end of an exciting day, while a cut can keep the energy up during action-packed scenes. Simple effects, like adding sparkles to a fireworks scene, can amplify the magic.
- Adding Titles and Credits: Introduce your video with a charming title screen that sets the theme. Ending credits that thank your family cast can be a fun way to conclude your Disney story.
Narrative Building
Constructing a narrative doesn’t just help in editing; it makes the final product more engaging. Think of your video as a story with a beginning, middle, and end. Start with the anticipation and preparation, move through the excitement of the day, and conclude with a reflective, joyful end as the park closes.
Now it’s time for breathing life into your Disney videos through creative themes, music, and engaging editing techniques, ensuring that each video you create captures not just moments, but memories that feel as magical as the Disney experience itself.
Sharing and Preserving Your Video
Optimal Export Settings
To ensure your magical Disney video looks great on any platform, understanding export settings is crucial. Here’s a quick guide:
- Resolution: Aim for at least 1080p for high definition, but if your camera and editing software support it, 4K resolution will provide a more detailed and future-proof result.
- Frame Rate: Stick to the frame rate you shot in, typically 24 or 30 fps, to maintain the natural motion of the video.
- Format: Export your video in a widely compatible format like MP4, which works well on most social media platforms and devices.
Sharing Tips
Sharing your Disney video can be as delightful as making it, but it’s important to do it thoughtfully:
- Social Media Sharing: When posting on platforms like YouTube, Instagram, or Facebook, customize your video’s cover image, title, and description to grab attention. Use relevant hashtags, such as #DisneyMagic, #FamilyVacation, or specific ones like #DisneyFireworks, to increase visibility.
- Privacy Considerations: Be mindful of the privacy settings when sharing your video. Decide if you want your video to be public or shared only with friends and family. Additionally, consider blurring or not showing faces of other visitors in your video without their permission.
Preservation
Preserving your video ensures that these cherished memories can be enjoyed for years to come:
- Cloud Storage: Upload your video to cloud services like Google Drive or iCloud. This not only backs it up but also makes it easy to share with friends and family who might want to relive the memories.
- External Hard Drives: For an extra layer of security, save your videos on external hard drives or SSDs. These devices offer more control over your data and reduce the risk of losing your videos due to online account issues.
- Physical Copies: While more traditional, creating DVD or Blu-Ray copies of your video can be a special way to preserve and gift these memories, especially to less tech-savvy family members who treasure physical media.
Read to Capture the Magic?
You’ve got this.
You know the moments—the twinkle in your child’s eye as they spot Mickey, the gasps at the fireworks above the castle.
These aren’t just fleeting seconds; they’re precious memories you want to hold forever. You might wonder, “Can I really capture all this?” Absolutely, you can. If you are still feeling intimidated, check out our Beginners Guide to Family Videography here.
With the right gear, a solid plan, and a few creative tricks up your sleeve, you’re ready to turn your Disney adventure into an enchanting family film. Every laugh and scream of excitement can be part of your story, one that will bring joy every time you watch it.
Imagine years from now, reliving these moments. These videos are more than just recordings; they’re a legacy, treasures that will bring joy and nostalgia for generations.
So, take a deep breath, camera in hand, and capture the magic.
The laughs, the tears, the surprises—these are the golden threads in your family’s story. You’re not just making videos; you’re preserving vibrant, magical moments to be cherished forever.
Feel inspired to elevate your family videos? Dive into Family Video Pro, our online course crafted to enhance your videography skills and capture precious moments effortlessly. Discover the art of family storytelling at your own pace. Embrace the joy of preserving memories authentically. If you enjoyed this article, or think we left out anything important, please leave us a comment below! We would love to hear from you!


